


A short decription of how the "Paint" animation was drawn |
|
Many thanks to Agetian for checking this text and fixing my awful English ;)
|
|

|
|
1. The Idea and storyboard.
At first there was an Idea, of course. The Idea was based
on Disney Afternoon promo which was shown in Russia in 1992.
This promo had a short sequence with painting Gadget's hair.
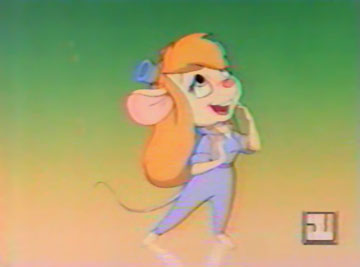 The Idea was to draw whole process of painting Gadget. Several people has liked this idea and after a discussion about some basic moments in storyline, we started our work. None of us had any idea about how much time we were going to need. At first we planned to finish in several months, but in the end it took much more. Also none of us had any experience in drawing cartoons. We knew the process "in theory", like anyone who likes animation. We didn't pretend to draw a masterpiece - we're not so stupid ;) We just wanted to draw something by ourselves and draw it as well as we can. Many things we did were done according to our rough notion of "how it should be". Anyway, process was very interesting in spite of the fact that the work demanded a plenty of our free time. Of course, we didn't have any special equipment. All we had was: a number of pencils, sheets of paper, a piece of glass, a lamp, a scanner and a computer. 90% of animation were drawn with the glass on the knees. By the end of work we worked out some more comfortable variants. 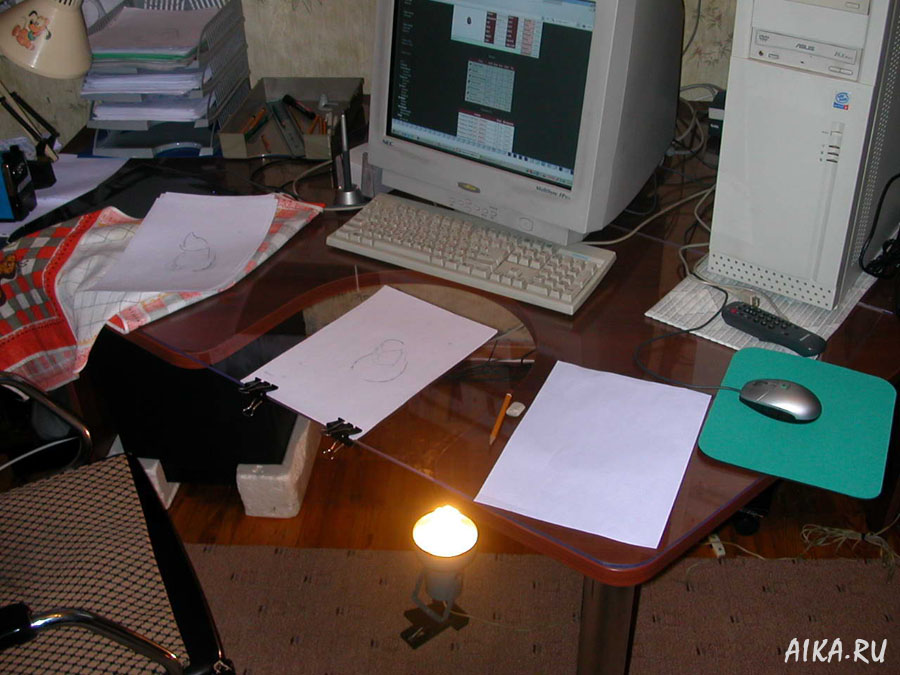
To see full size, click on the picture At first, we planned to draw animation with the speed of 12 frames per second. But later we found out that some scenes had to be done with the speed of 24 fps, because some objects were moving too fast. So, some scenes in this animation were drawn in 12 fps, and some were drawn in 24 fps. At first, we needed to make some storyboard and characters. We drew many pictures, wrote many descriptions and in the end we had a small brush and several big brushes. 
Also we had to determine the length of each scene and the total length of animation. Moreover, we decided to use our own music, because we didn't want to take others' work. Therefore, we had to make the storyboard and the music (or at least rhythm) simultaneously. Drawing pictures was not enough for this, we had to assemble it into some sequence. We found a small software called "Platypus Animator" for that. It's very simple and uncomfortable, but we didn't find any other. Maybe we didn't search well enough, or maybe there wasn't any other software. 
To see full size, click on the picture We had a lot of ideas about what should be in our animation. It's impossible to list all of them, but our last file "storyboardXXX.avi" has number 205. Now you can imagine how much variants we've had. Here are several frames from the storyboard, including those, which were rejected. 

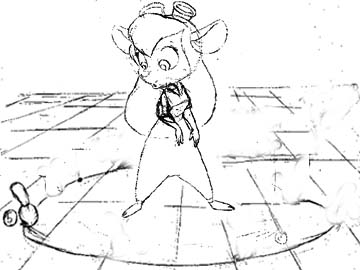
To see full size, click on the picture After the work on the storyboard was finished, the creative part was also over. Since that moment the routine had started. Drawing frame by frame isn't as much hard, as it looks. This work is more "monotonous" and "boring" than "hard". Of course, it is impossible to draw the final, clean frames without rough animation. That's why we first drew rough frames and combined them into a rough animation. We had a lot of correction, redrawings, etc., and it was the longest part of the project. In addition to animating characters, which is not very hard, we had to draw some interaction between several objects and this was not easy, because objects affect each other. Here is the sample: 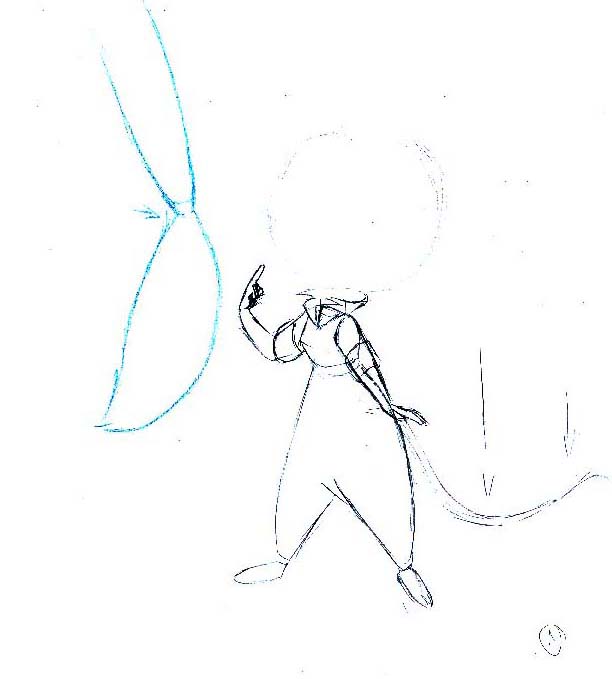
To see full size, click on the picture As a test we drew a short rough animation of a scene from the original sequence with painting hair. We didn't trace any frame, it was impossible because of many reasons. This short scene appeared to be quite good, but in the final animation we had to throw out every second frame, because it was too smooth in comparsion to other fragments. If you want to see a full version of this scene click on the picture below. 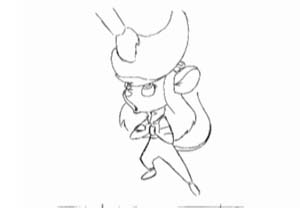
To see animation, click on the picture At the same time we had to compose some music. Luckily, we have found a man, who agreed to do this. But the process was hard. To describe what we wanted to get, we used everything: instructions, descriptions, animated storyboard. The following software was used to compose the music: "Cool Edit", "Acid Pro" and some other software, the names of which I don't even remember. Once I managet to get a photo camera, so if you want to see how it looked, click on the picture below. 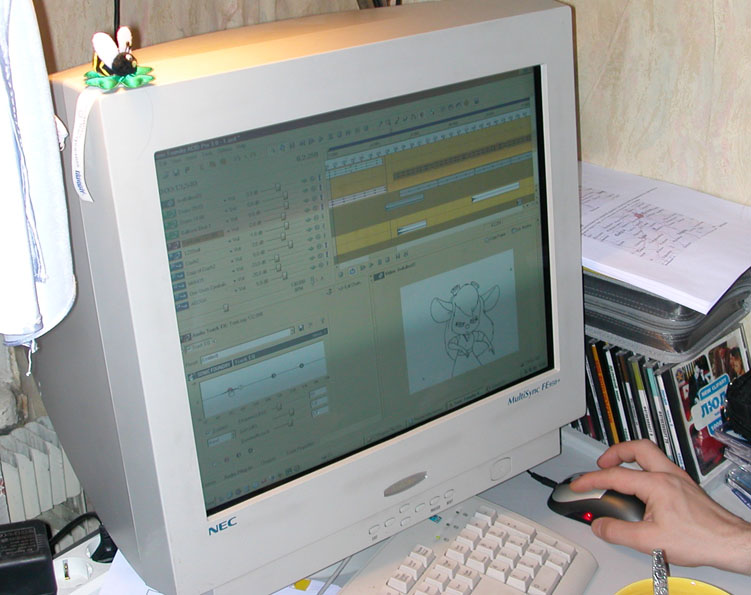
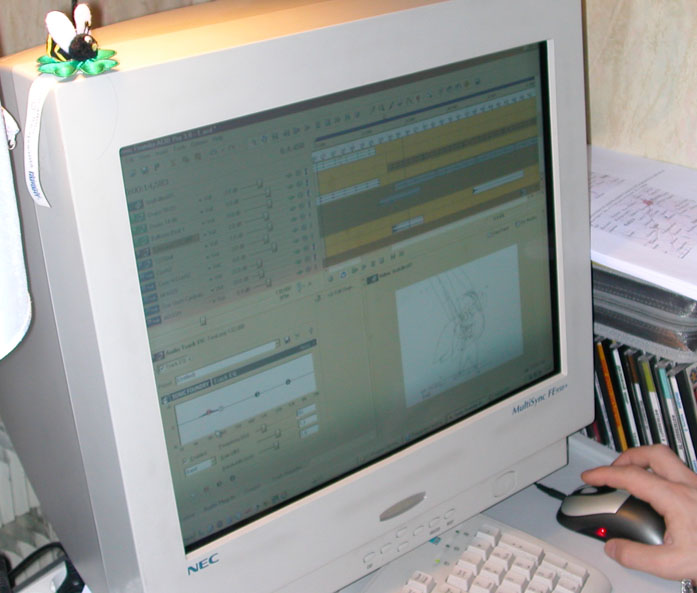
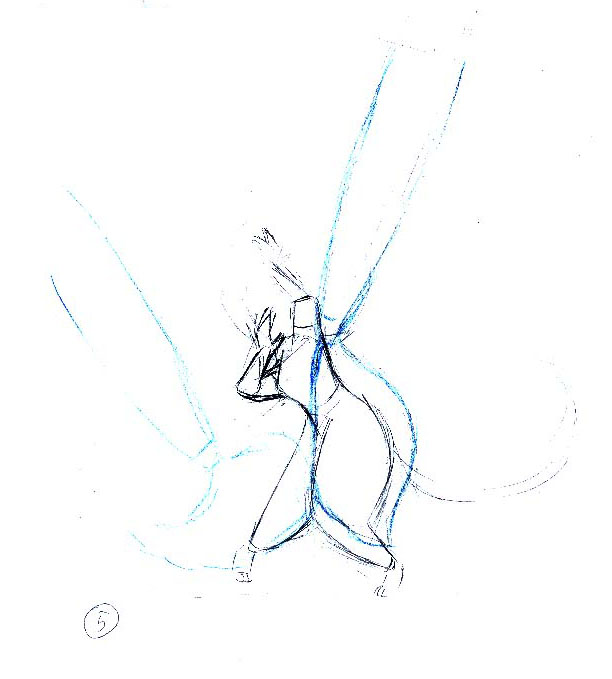
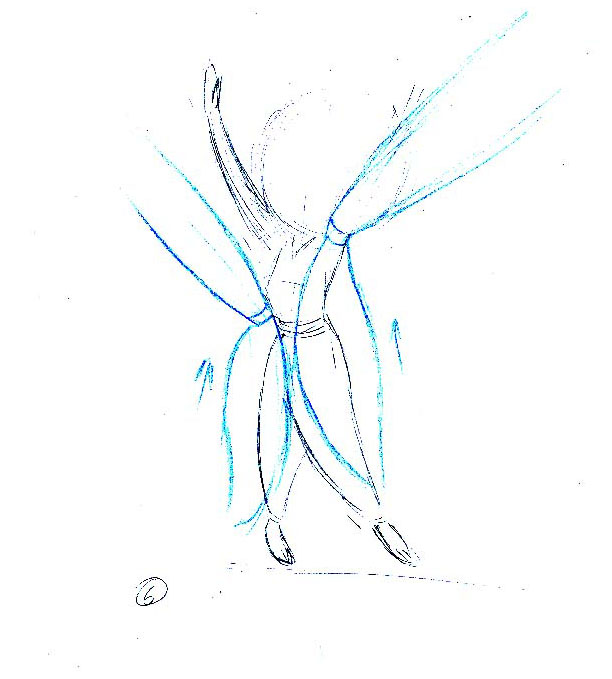
A white window in the bottom right corner of monitor is used for synchronization of music and animation. In total, we had four variants of music, three of which we discarded. The process of composing was completely finished only when we started to color our animation. Here are some frames of rough animation. 
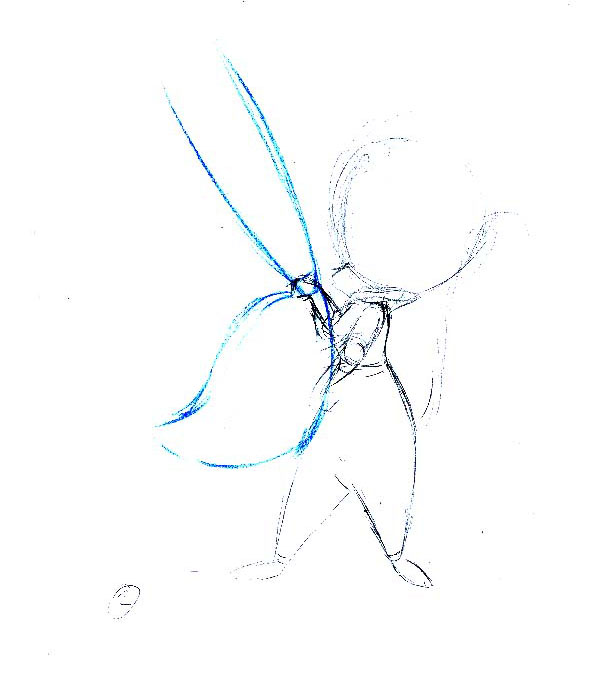
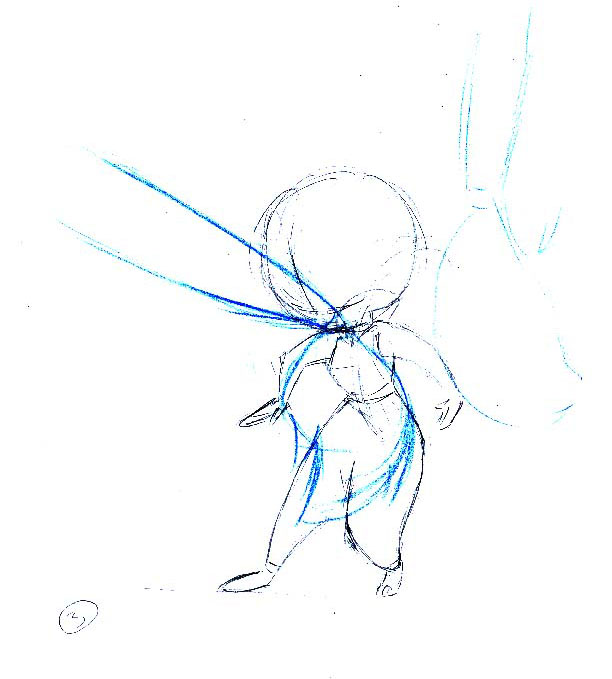
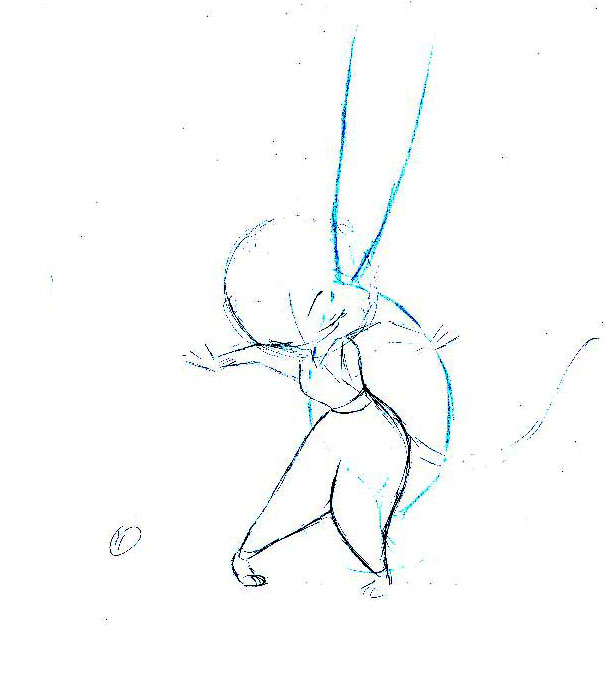
To see full size, click on the picture The drawing process: 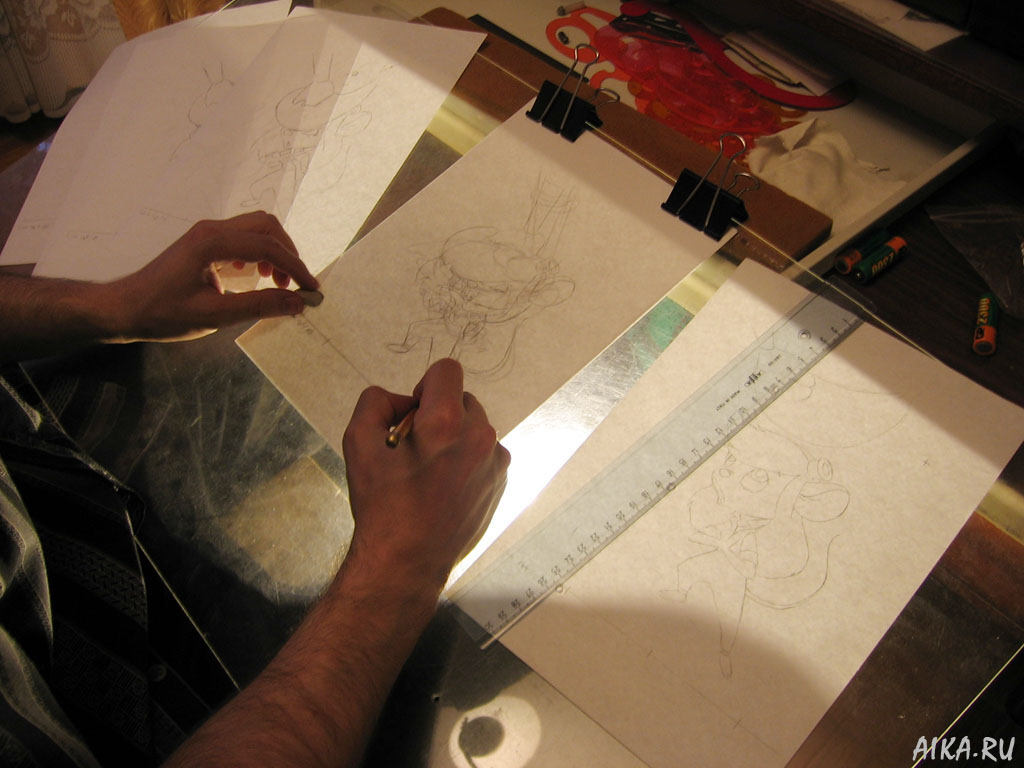
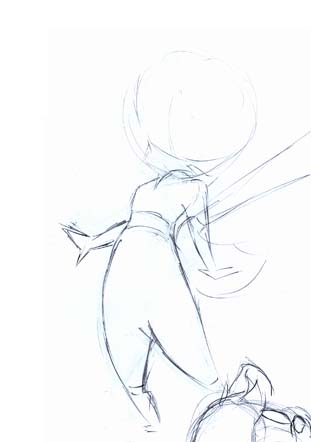
To see full size, click on the picture You can read about drawing of some scenes (animation of first scene and drop) at http://www.toonster.ru. It's in Russian, but at least, you can see the pictures. I highly recommend to visit this site. Of course, on every phase we checked the results. Sometimes we put all scenes together to check the animation from the beginning to the end. Step by step, we drew all scenes in rough animation. Here is one of them: 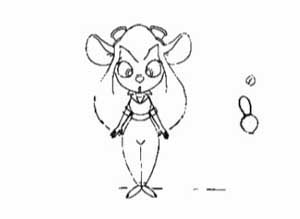
To see animation, click on the picture |
|
|
|
|
| 2. Clean-up animation >> |